
Ever want to create your own merch? Through a partnership with Spring, OnlyFans creators can easily design custom-branded products to sell directly to their fans through their profiles. Here’s everything you need to know to get started with the OnlyFans Spring Store feature.
Overview Of The Spring Store Feature
The Spring Store is essentially a digital storefront that lives directly on your OnlyFans profile. That means your fans can peruse your custom-branded products without navigating away from your profile. When fans are ready to make their purchases, they’ll be directed to your storefront on Spring to complete the transaction.
With the Spring Store, you also don’t have to worry about the logistical headaches that often come along with selling custom merch. In other words, you don’t have to order boxes and boxes of apparel, stickers, water bottles, etc., store them, or ship them to buyers yourself. Spring handles it all– from creating your eye-catching merch, to mailing it directly to your fans.
If you have any other products you’ve produced yourself, outside of Spring’s print-to-order service, you can also sell them from your Spring Store.
How To Launch Your Spring Store
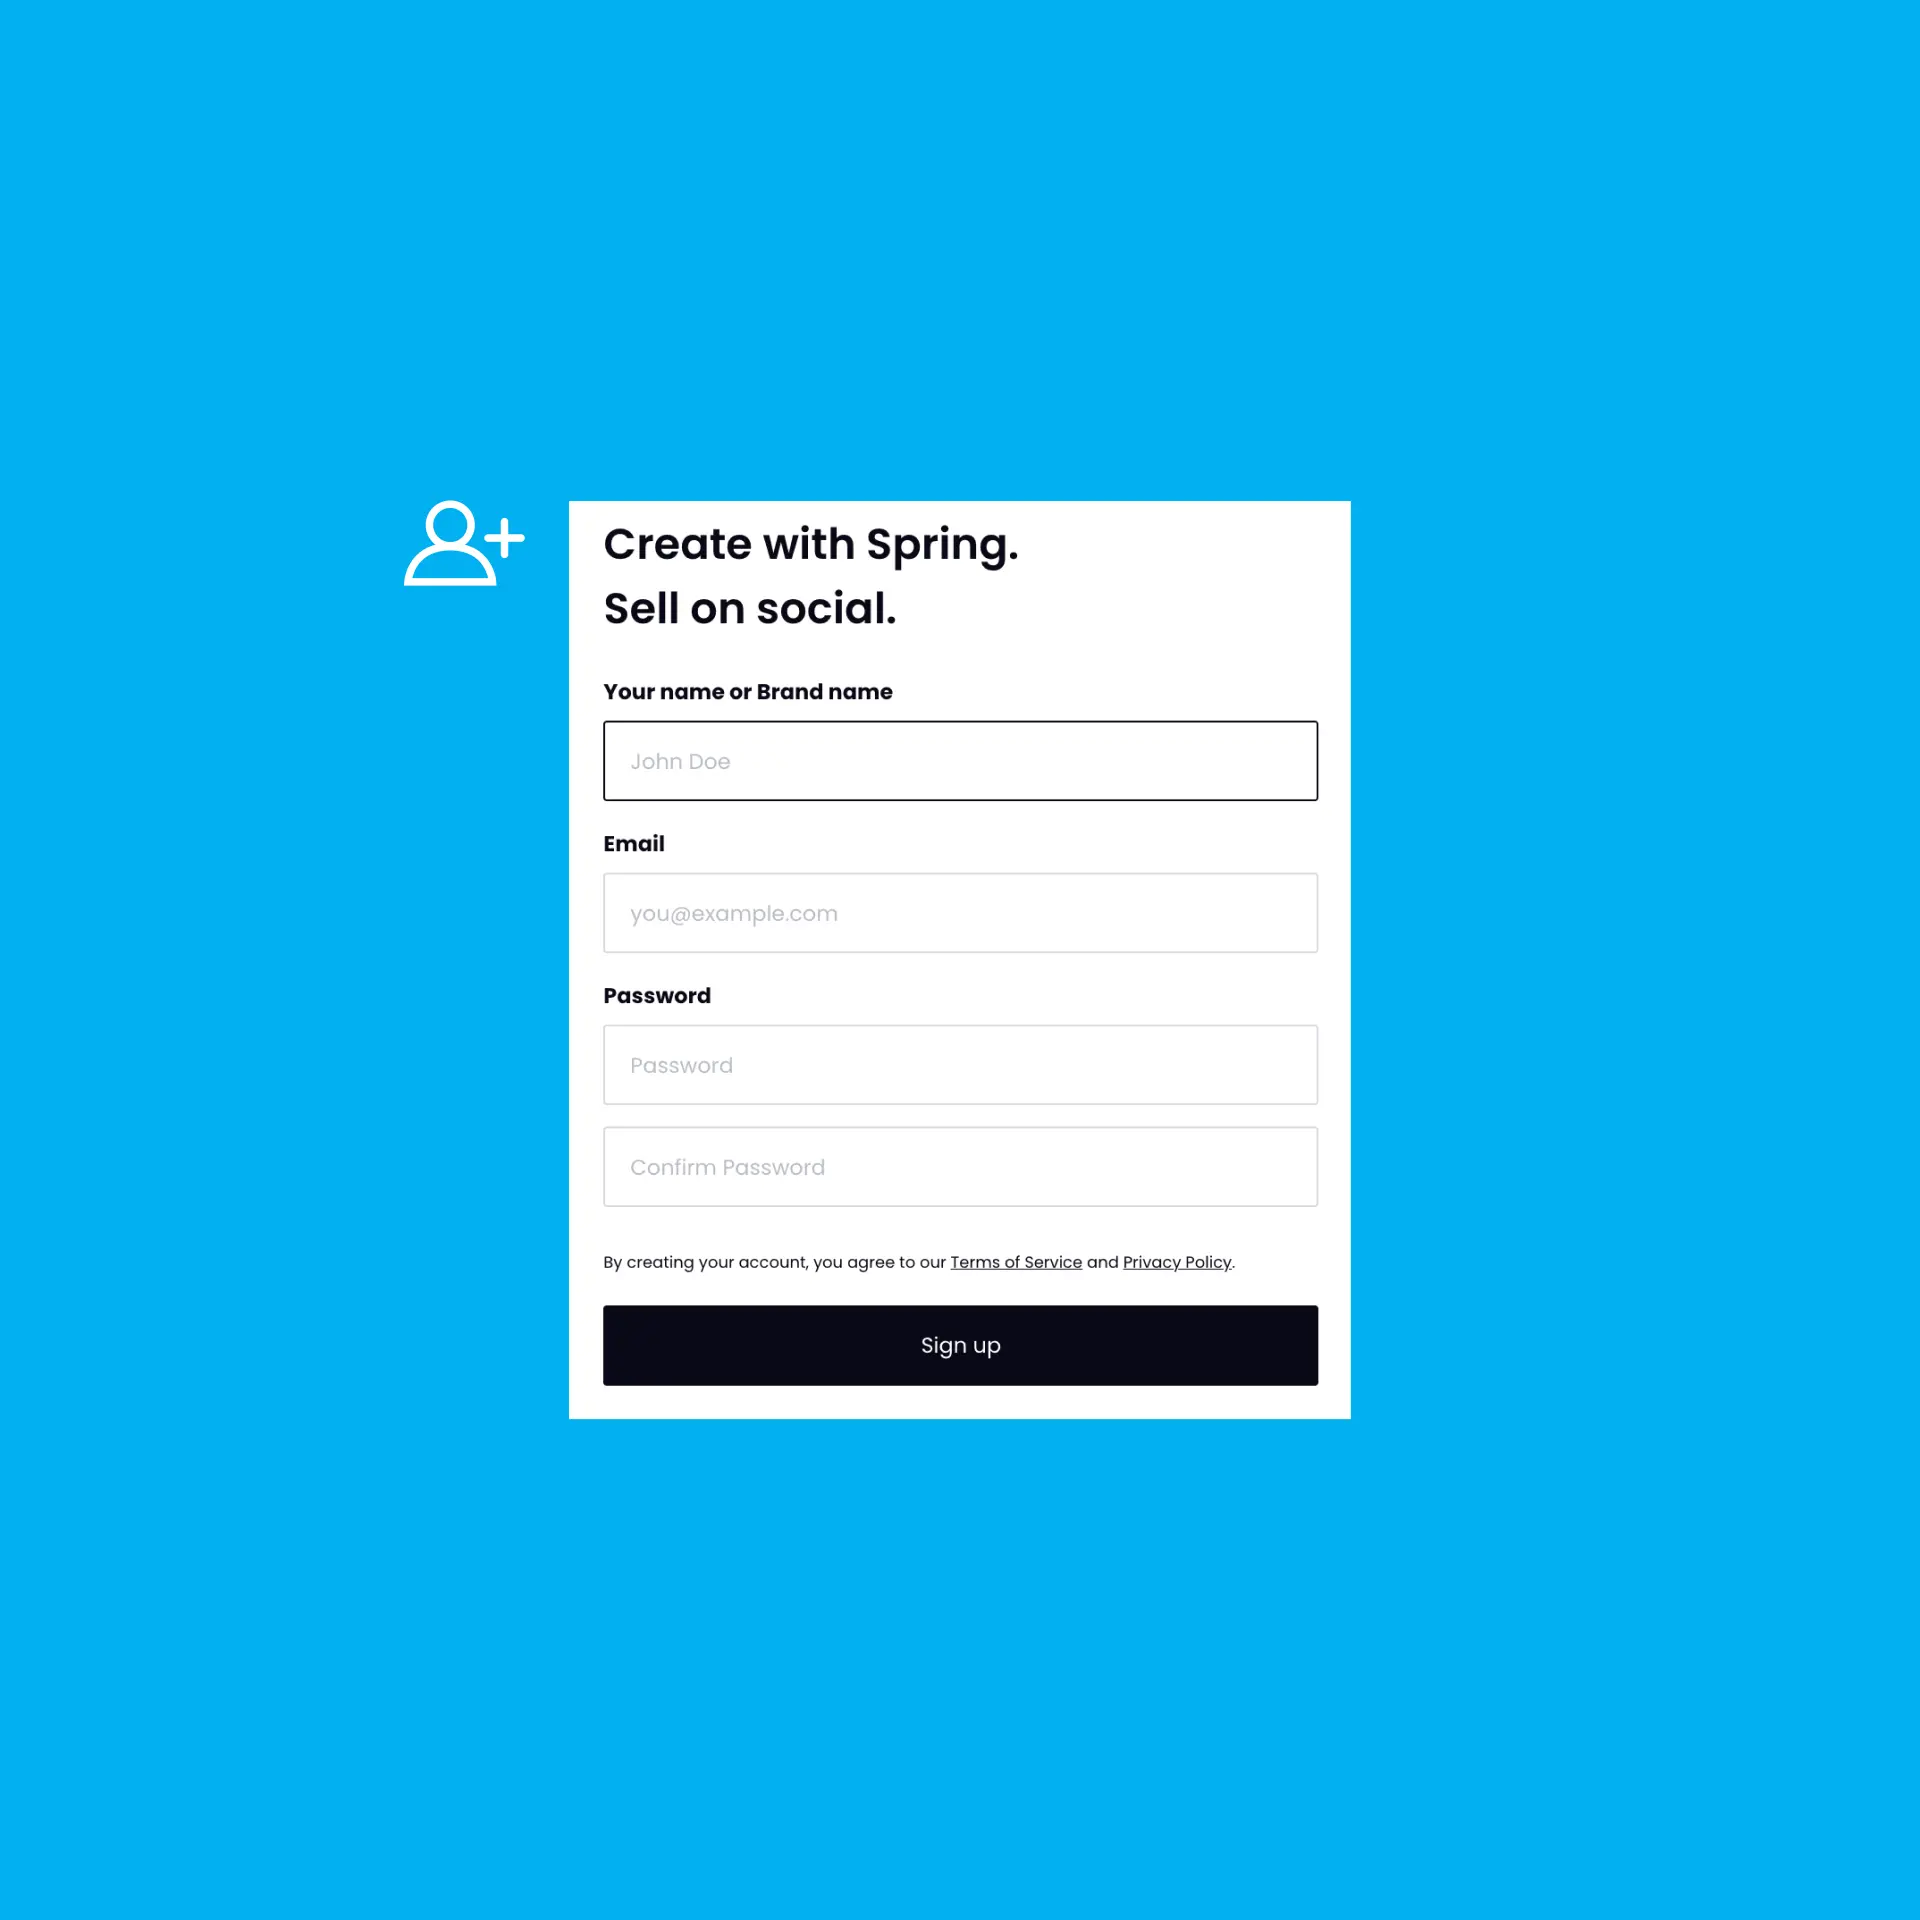
1. Create A Spring Account
Click here to sign up for a Spring account.
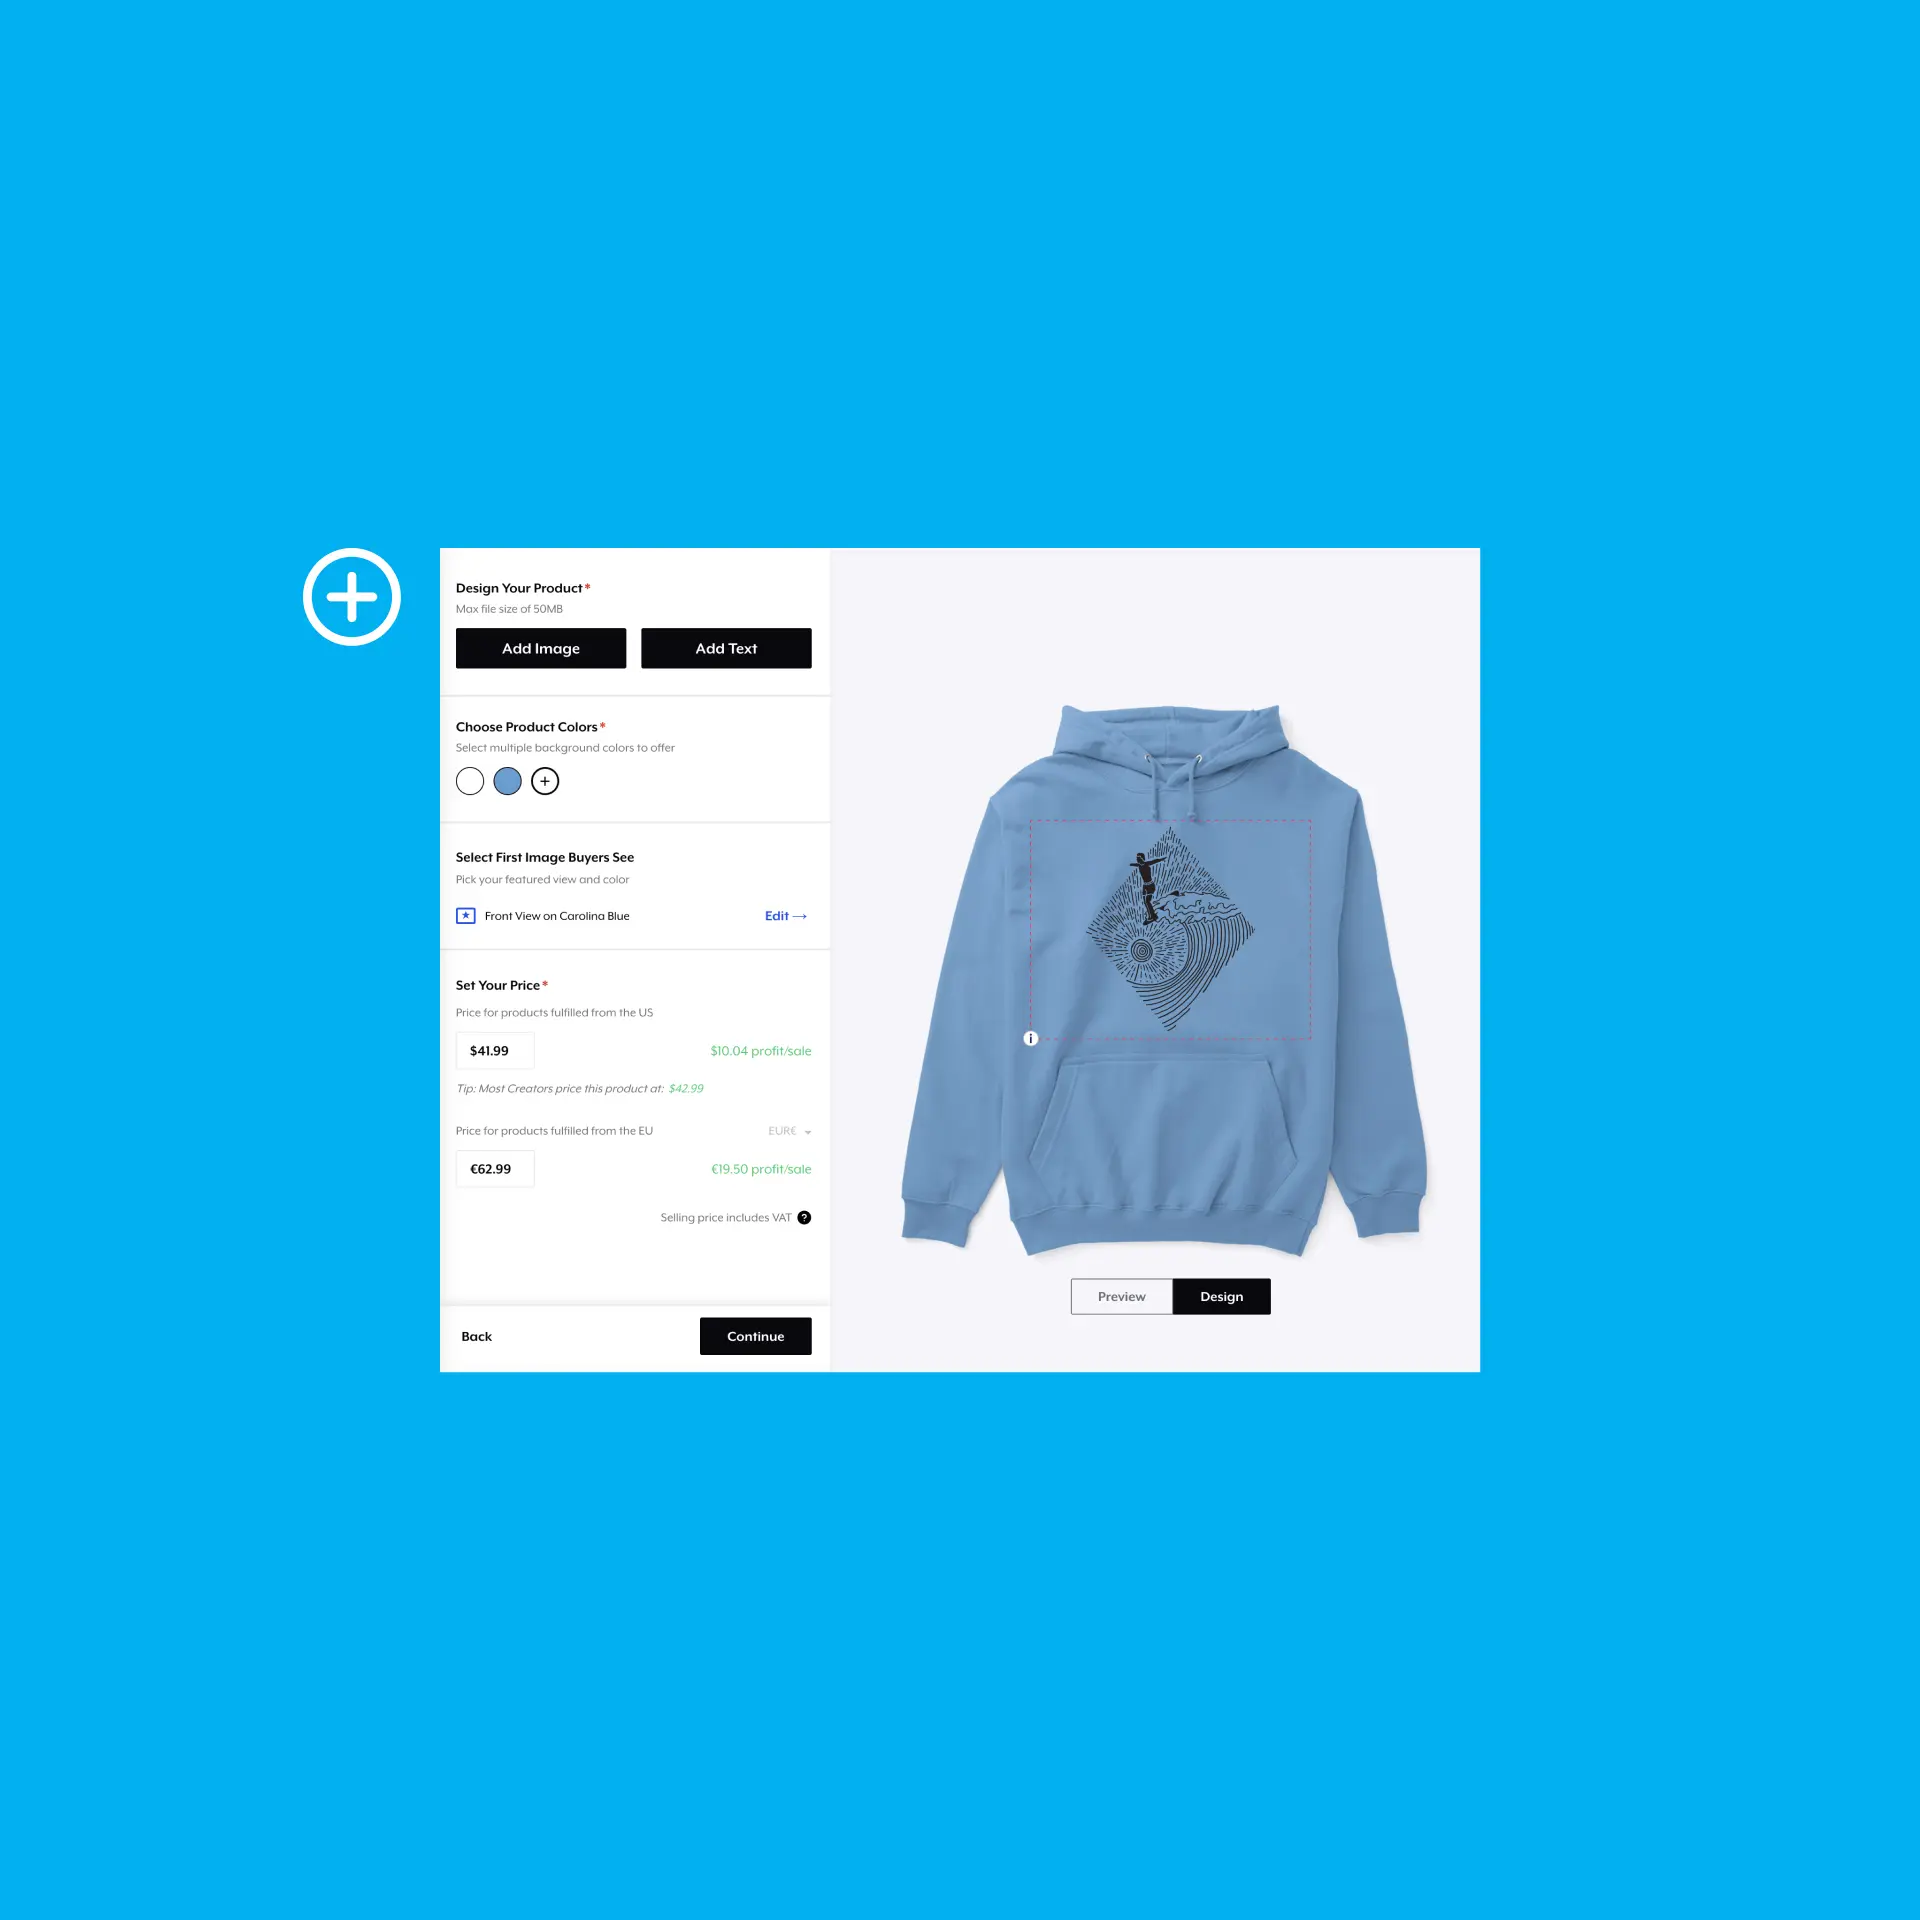
2. Design Your Merch
Spring makes it easy to turn your creativity into a reality, with over more than 120 products available for you to customize. From backpacks, to water bottles, to apparel, to puzzles, there’s something for every type of creator.
3. Select Your Featured Products
Keep in mind that your ‘Featured Products’ will be the first to appear on your OnlyFans profile. If you don't have many products to sell, or aren’t concerned with the order in which they appear, you can move on to the next step.
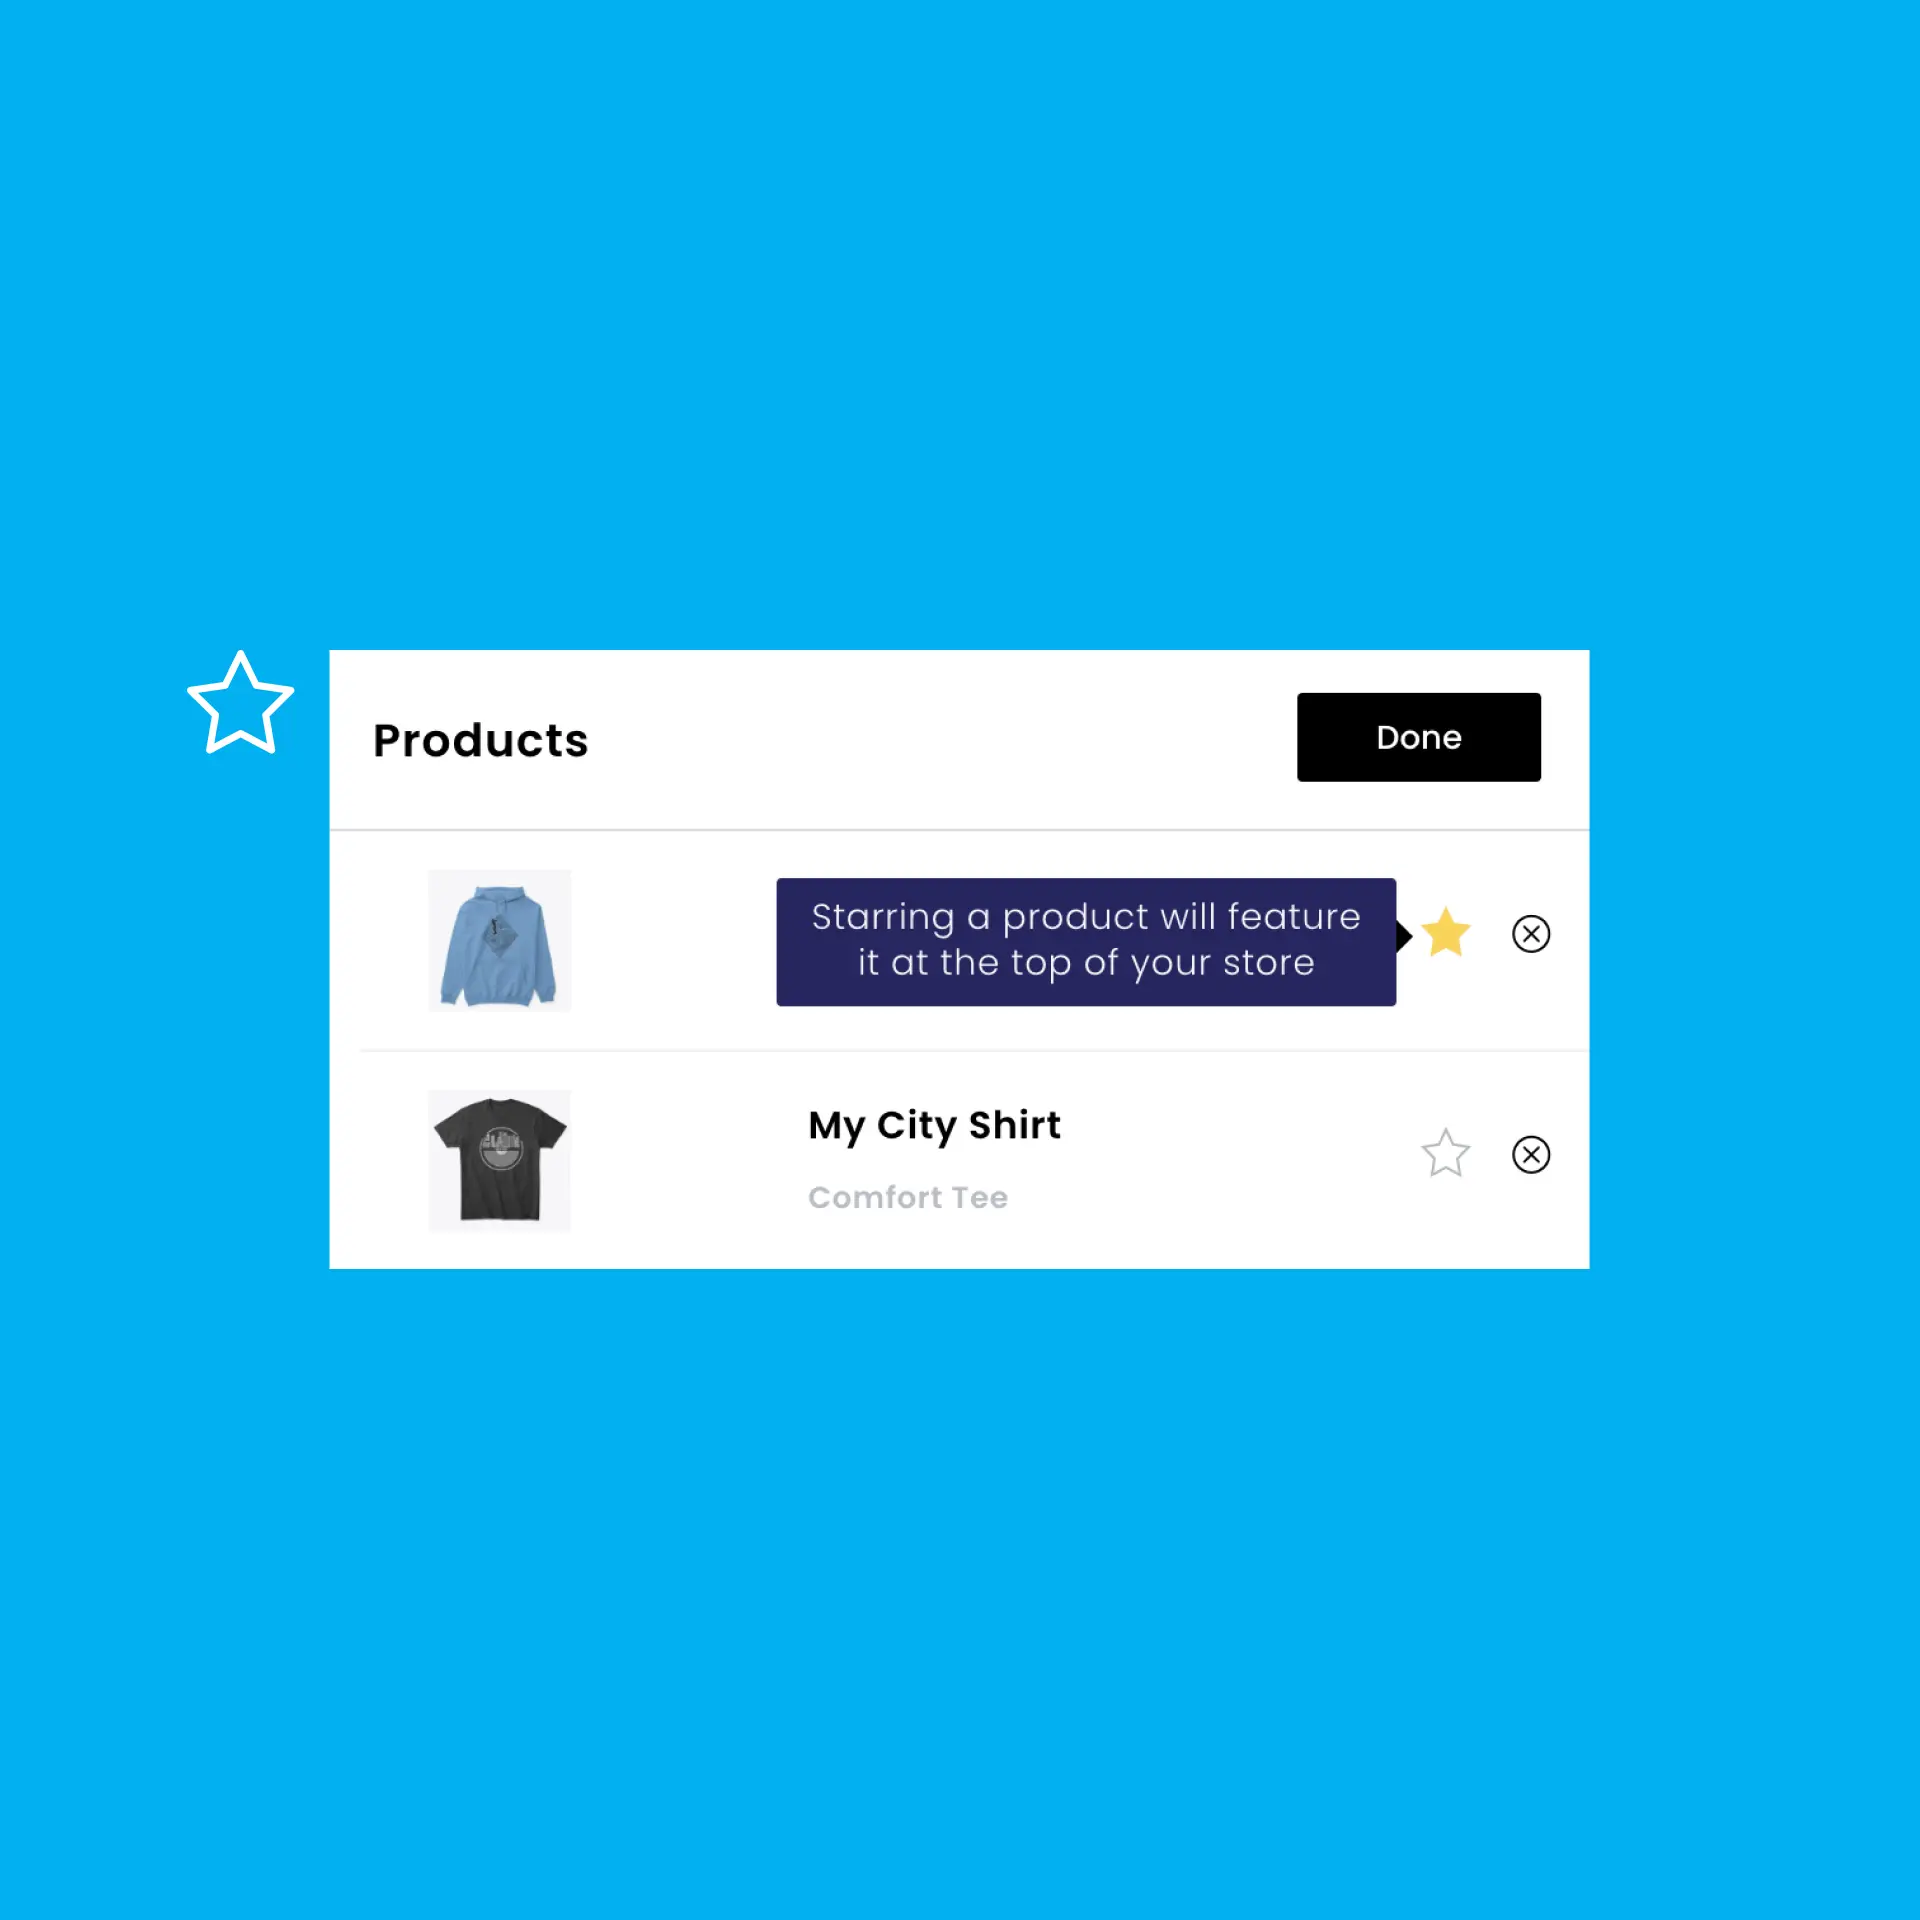
But if you’d like to customize the order in which your products appear, you’ll need to adjust your Featured Products. To select which items you’d like to feature, navigate to your store editor in Spring.
Next, select ‘Products’. Mark which of your products will appear in your OnlyFans Spring Store with the star icon.
4. Retrieve Your Spring Store Link
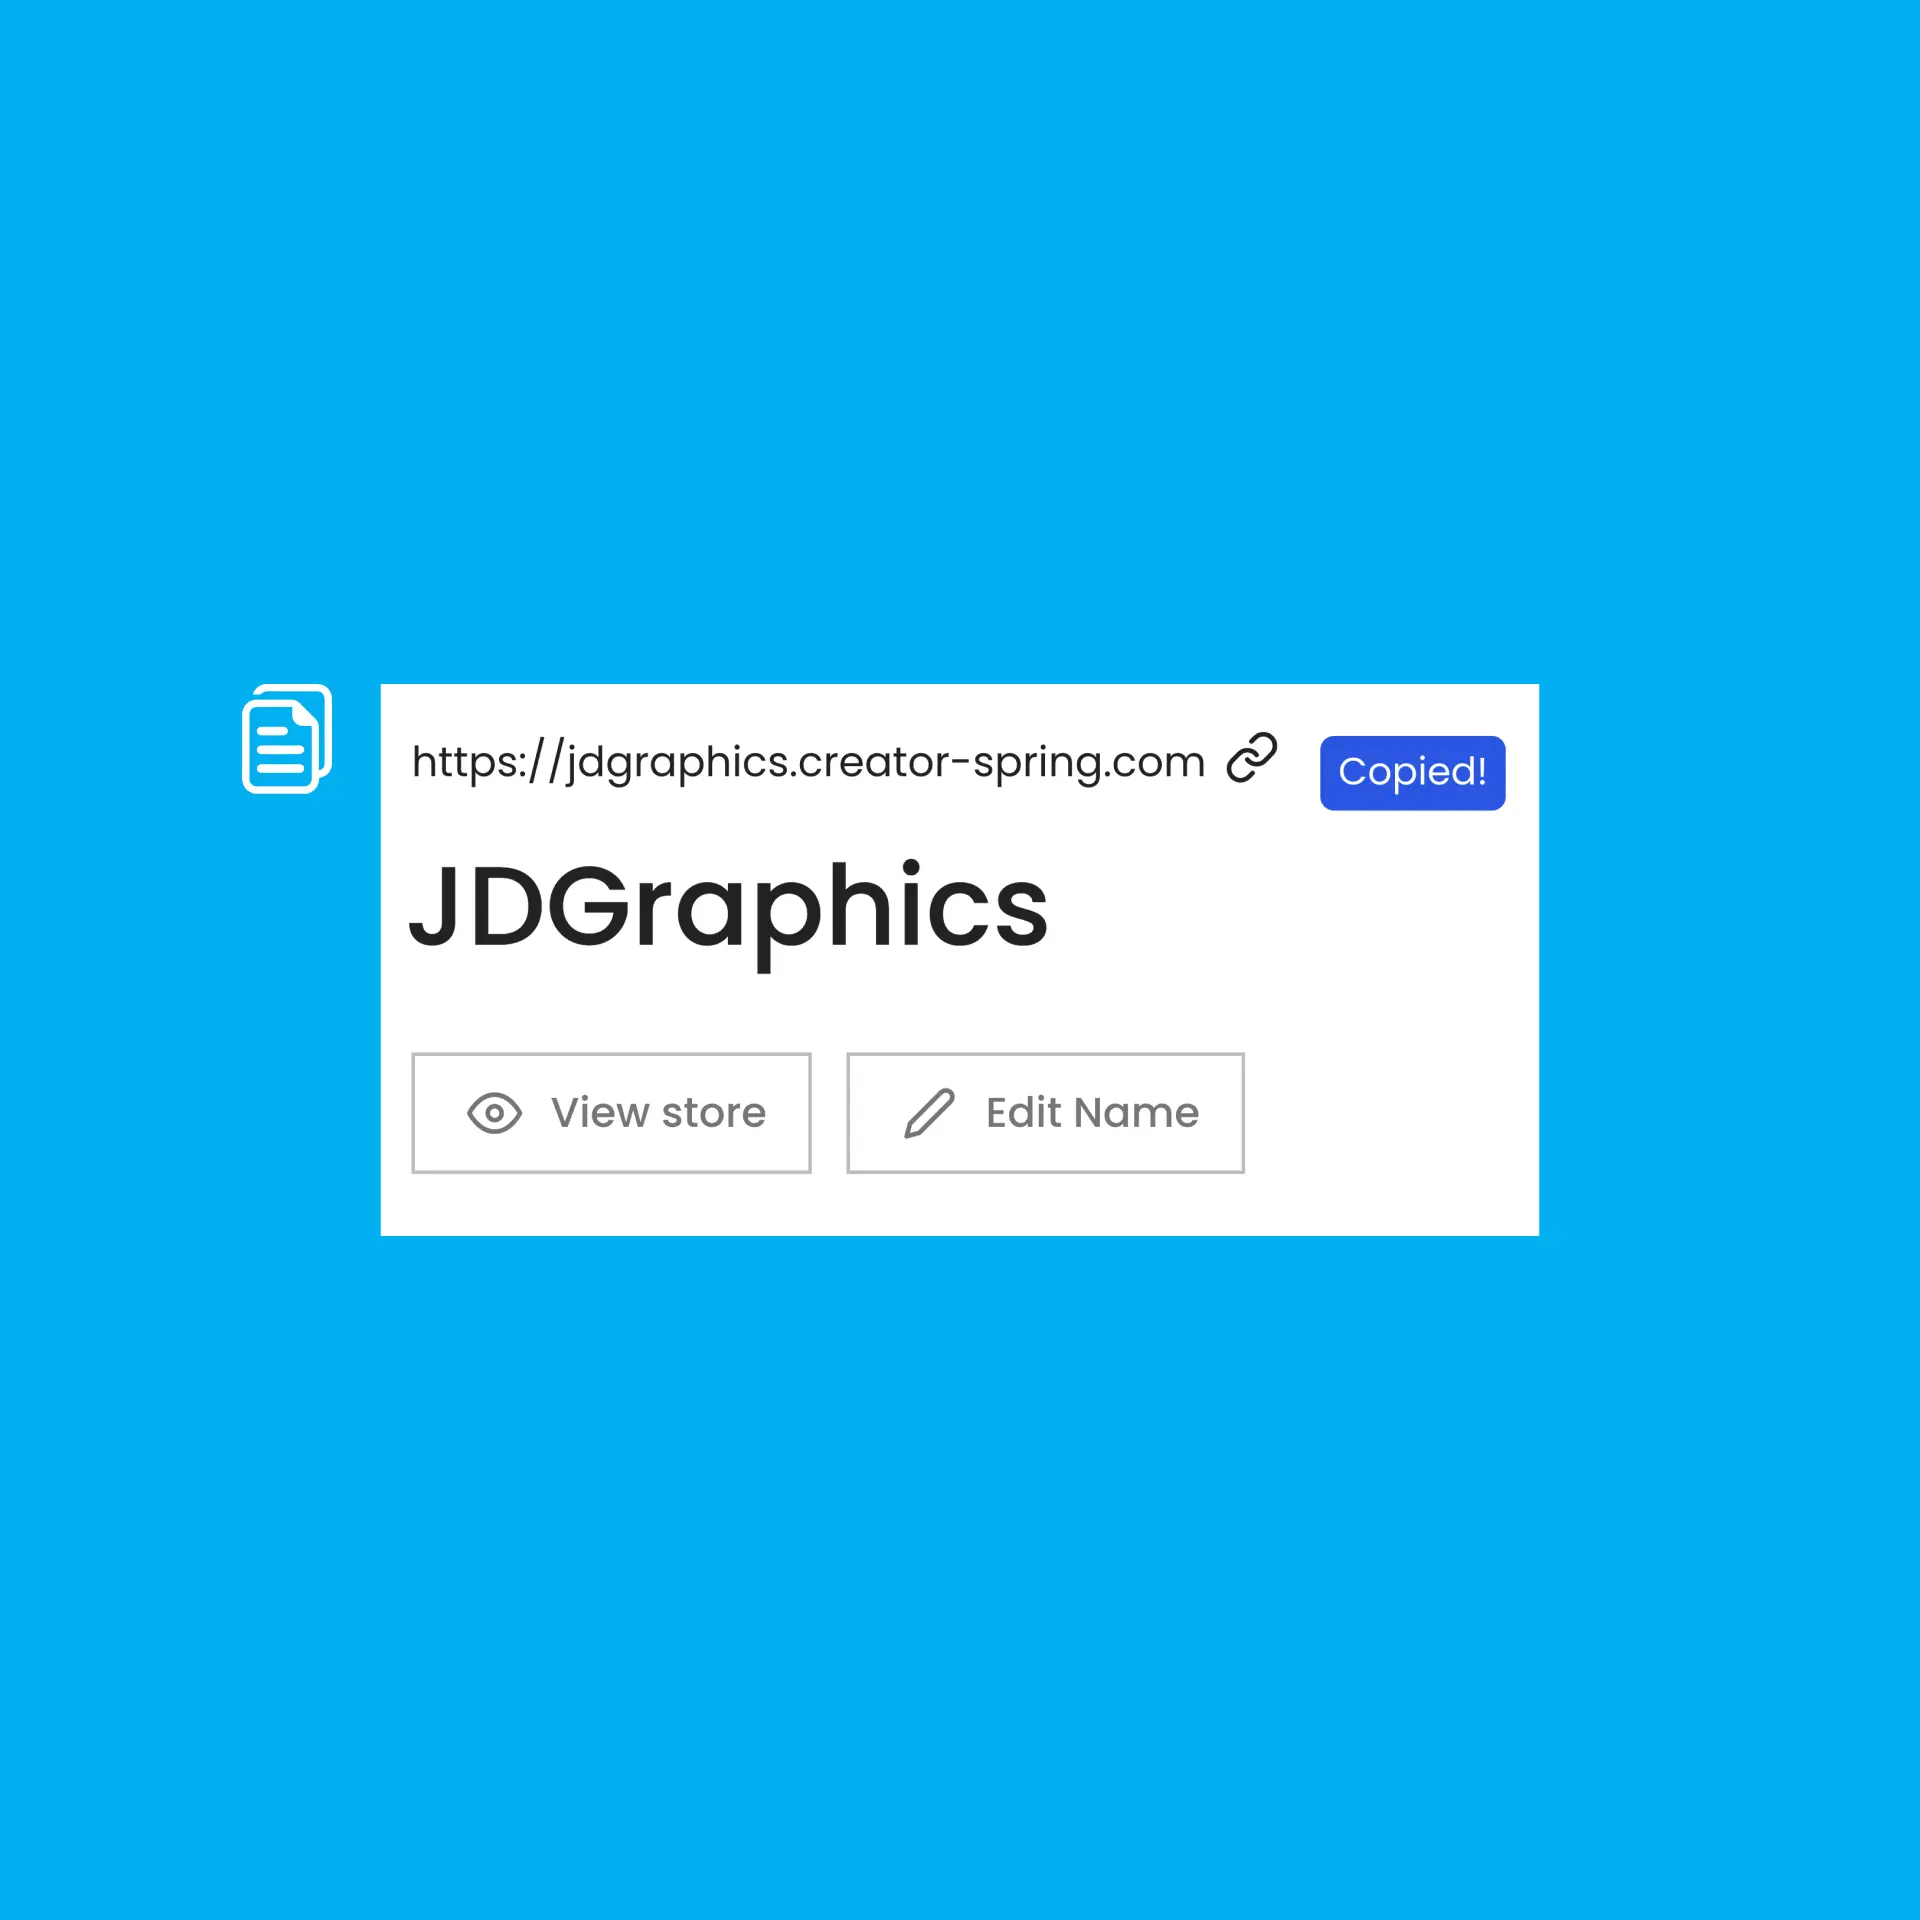
From your Spring dashboard, copy your Spring Store link. It should look something like your-name.creator-spring.com.
5. Connect Your Spring Store To Your OnlyFans Profile
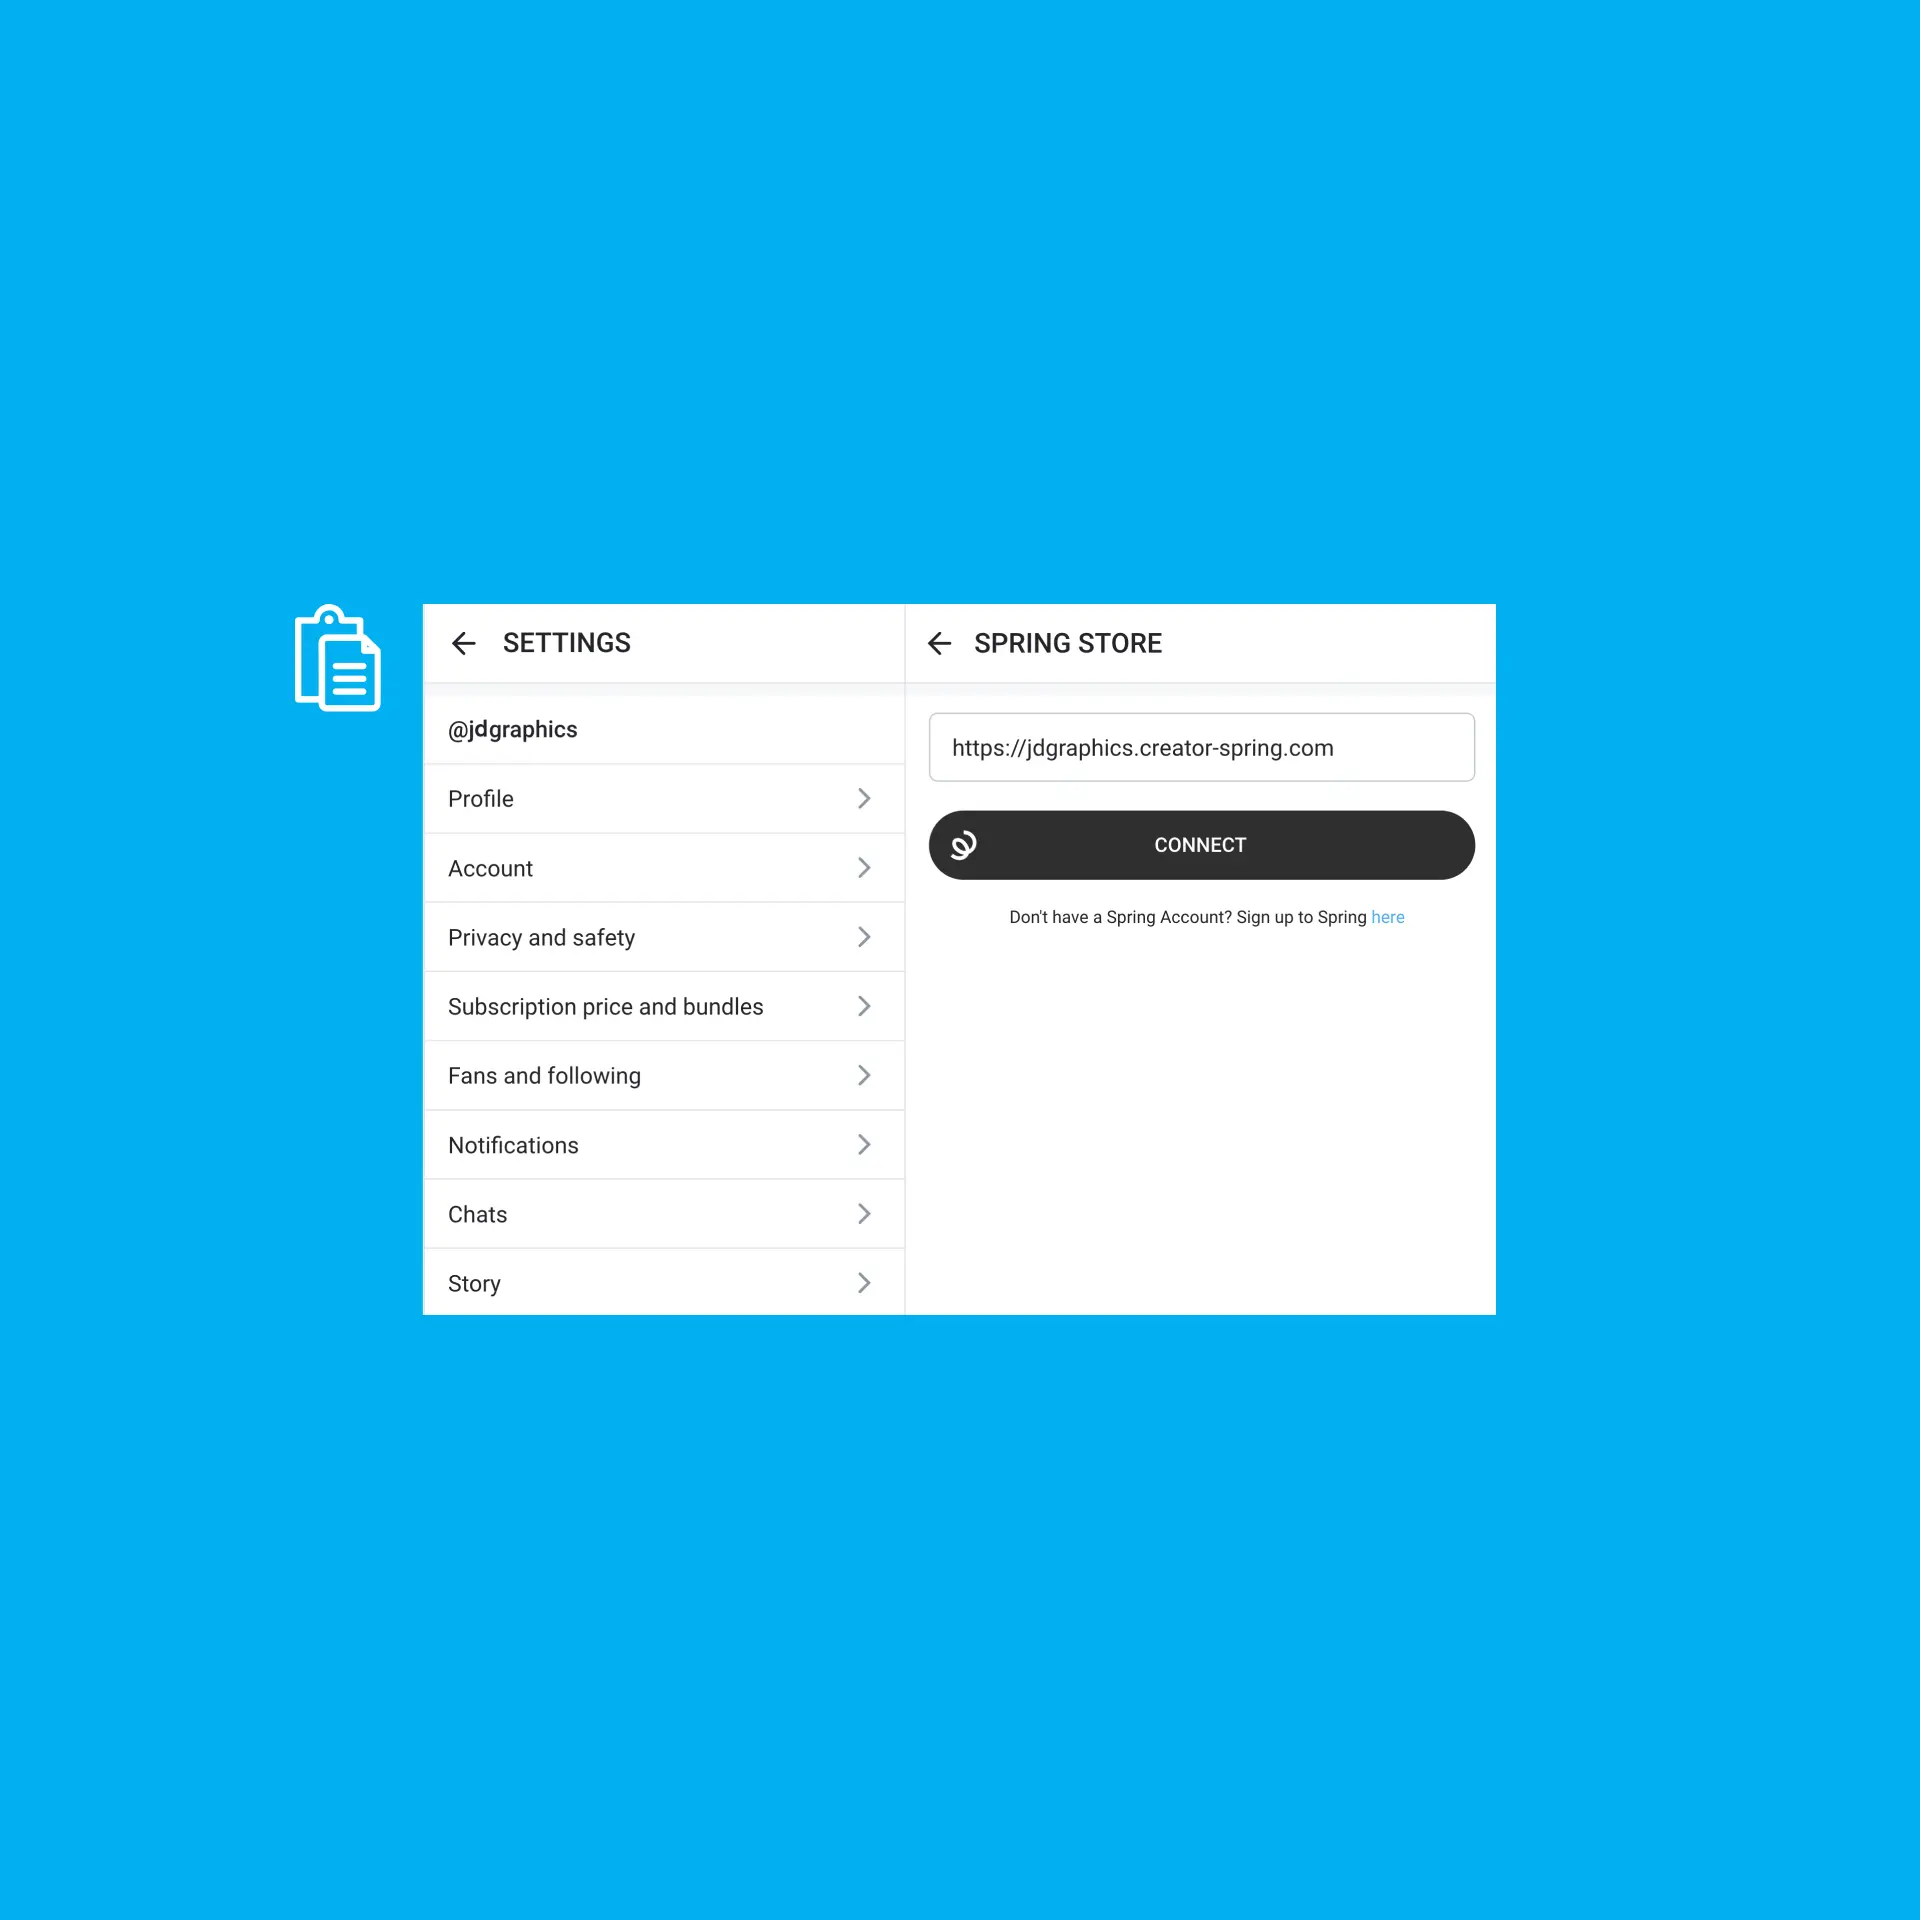
To connect your Spring Store to your OnlyFans profile, simply open your profile ‘Settings’ and select ‘Spring store’ (under ‘Additional info’).
Paste the URL you copied in the previous step, and press connect.
6. Promote Your Merch
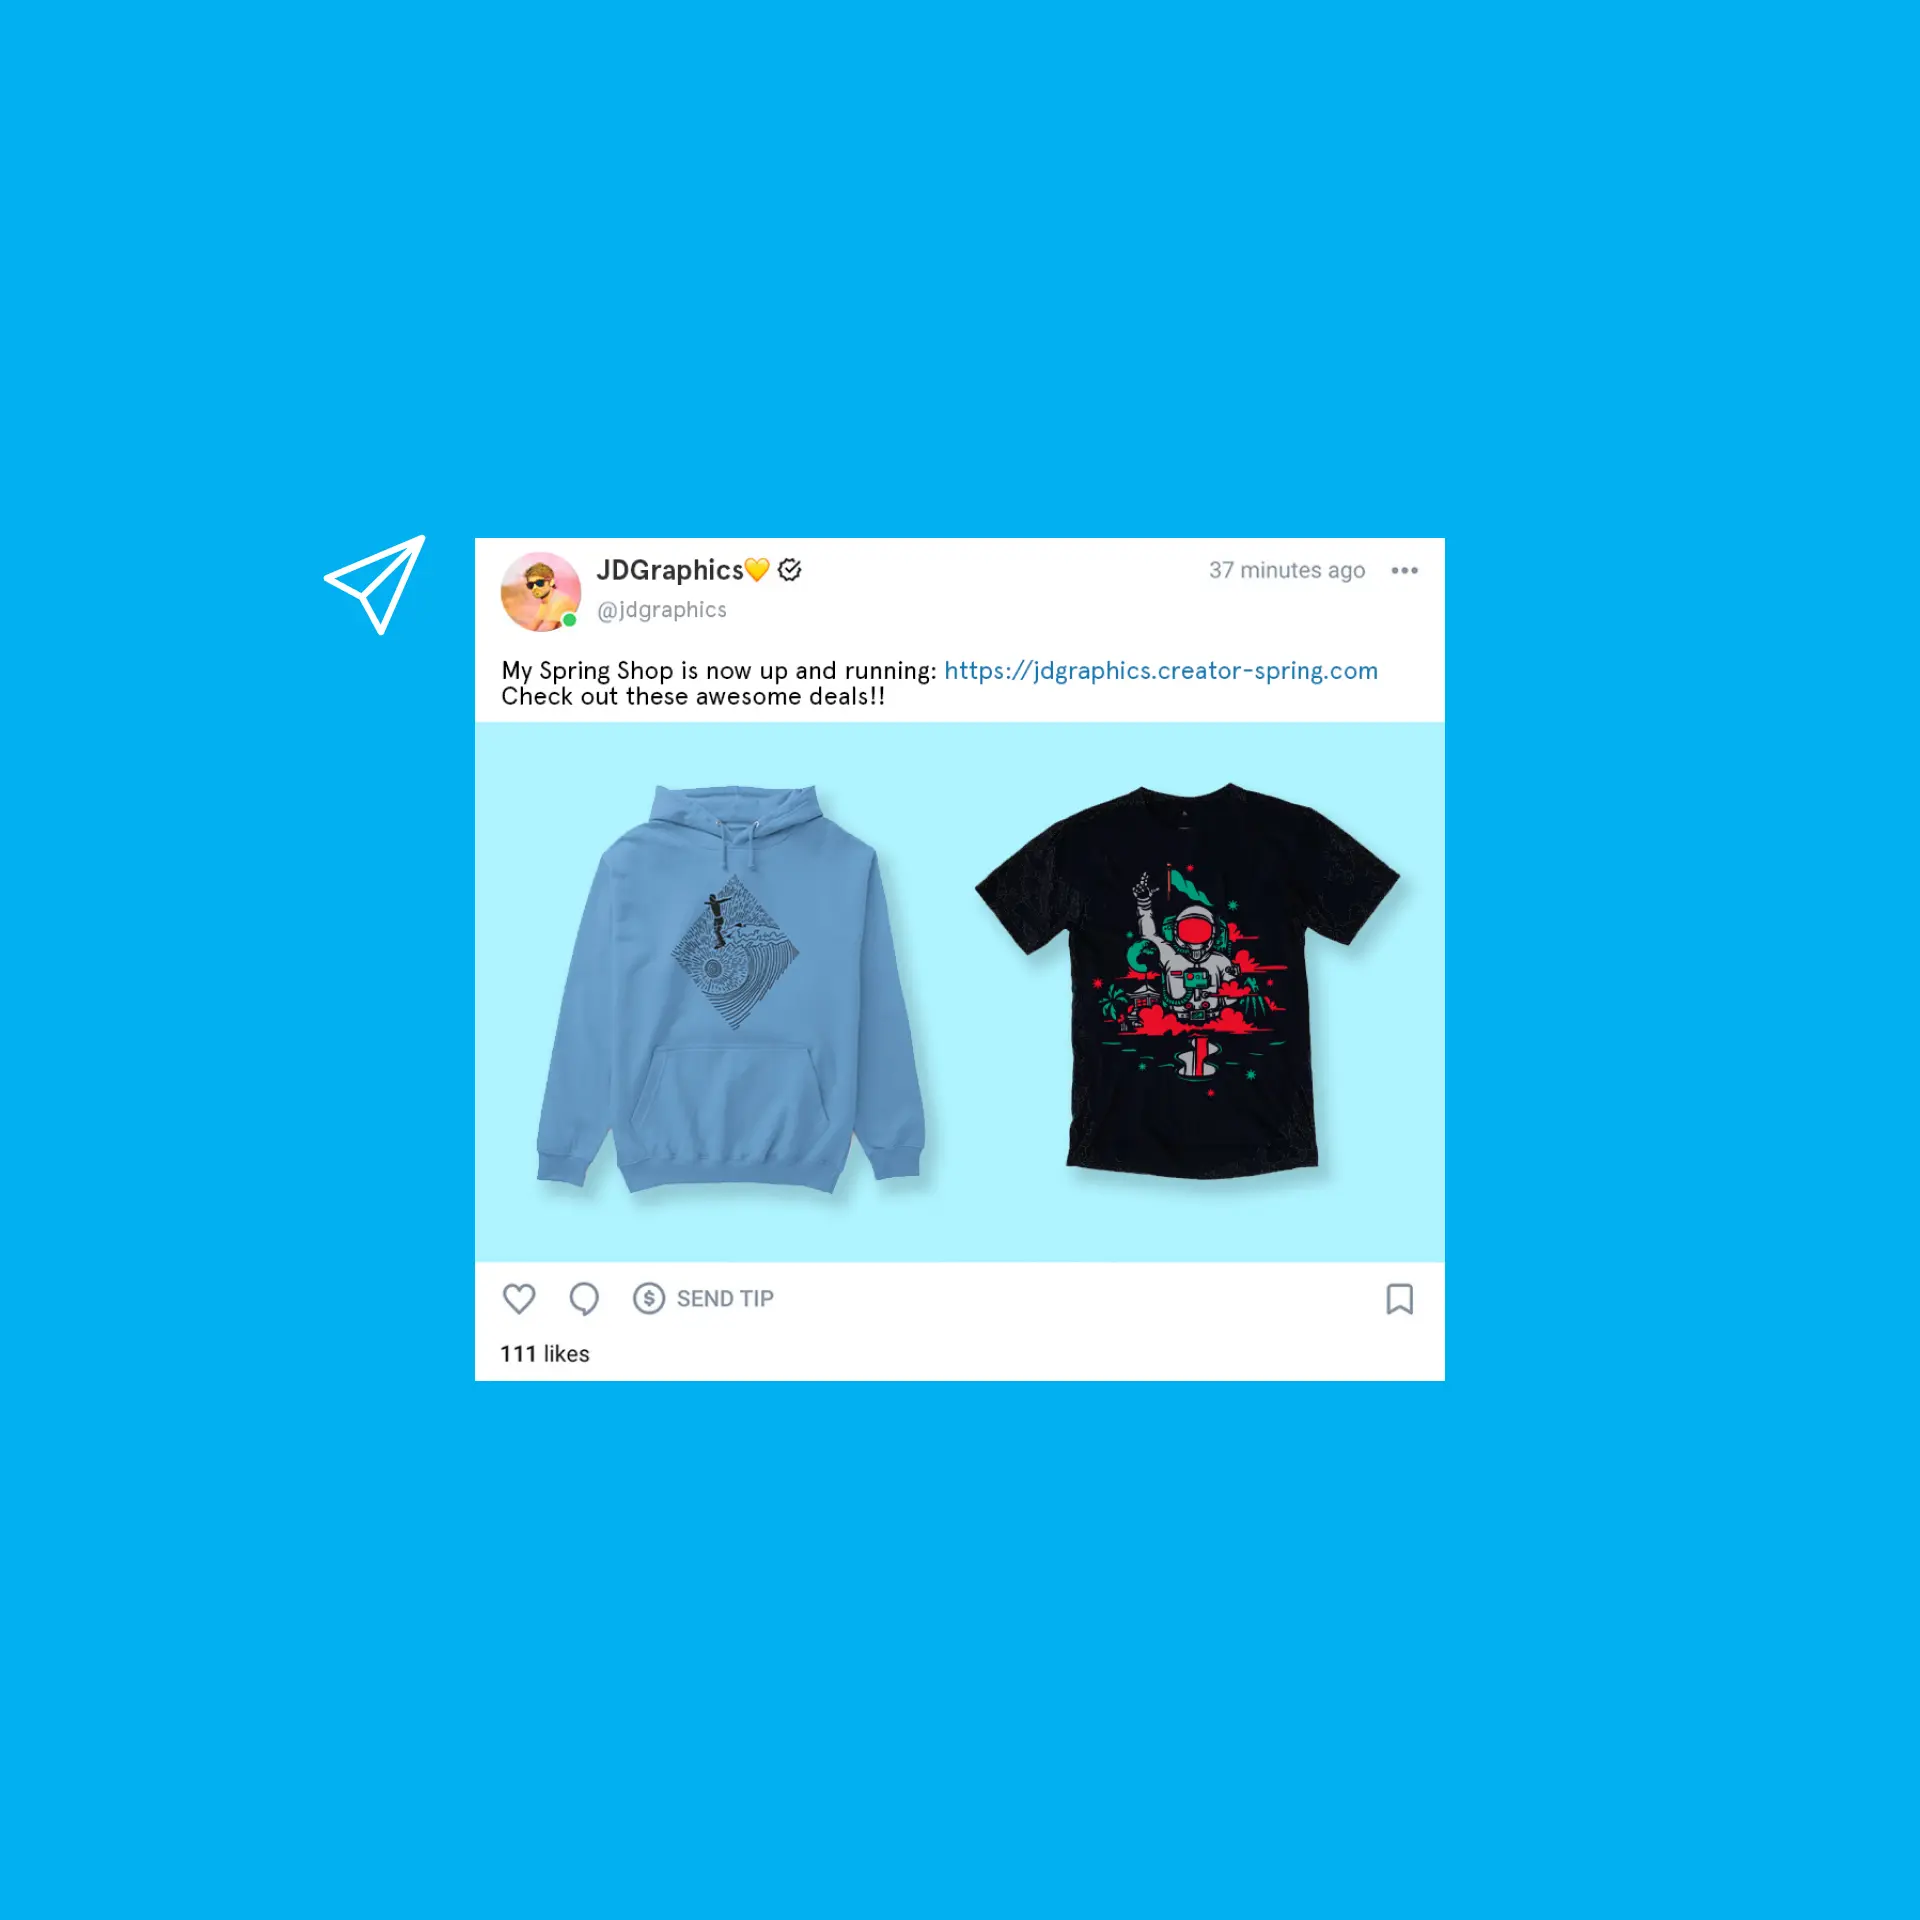
Now that you’re officially in business, it’s time to get the word out!
Not only is selling custom merch a great way to earn money as a creator, but it’s perfect for spreading awareness of your brand. Plus, your fans will appreciate the ability to represent you publicly. Get creative, and launch your Spring Store today.
What kind of merch will you be designing first? Let us know in the comments below.


